
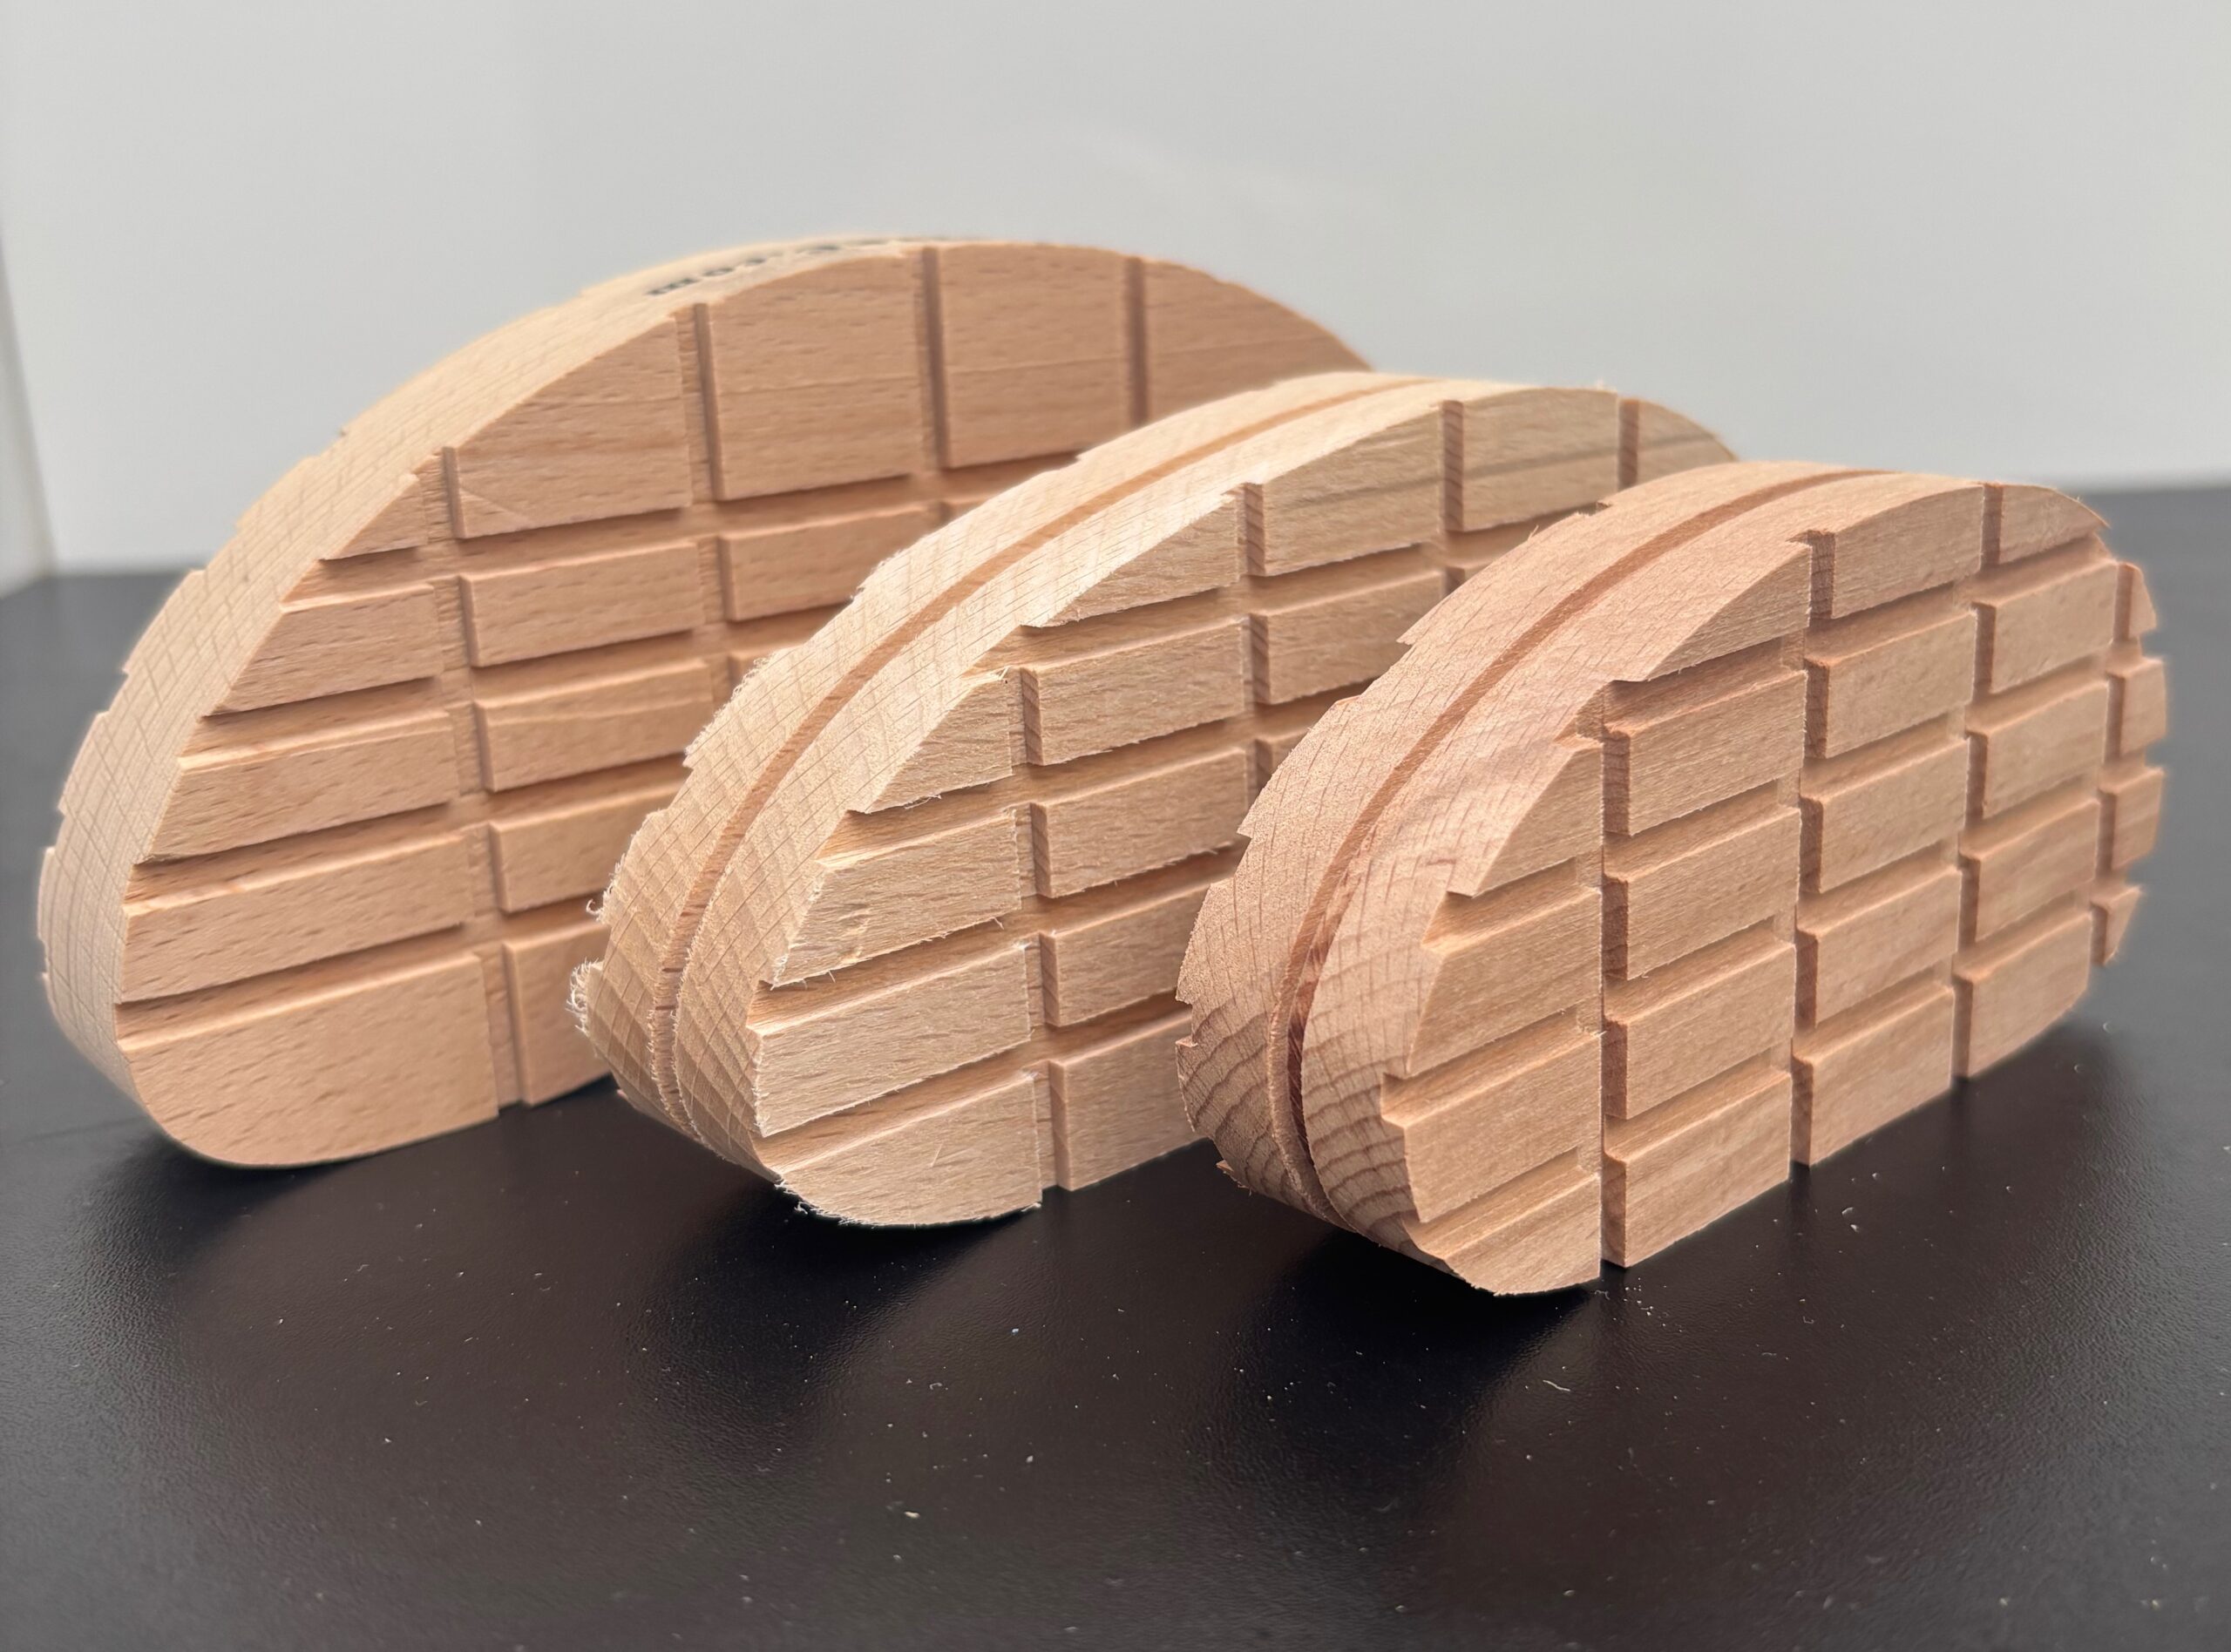
A hoof block does one job: it takes weight off a painful claw and puts it onto the sound one alongside, so the damaged claw can heal without carrying the cow. Done well, that is the single most effective bit of first-aid a trimmer can offer a lame cow. Done badly — block on the wrong claw, glued to a wet surface, or left on too long — it either falls off in a fortnight or creates the next problem. This is a practical, foot-trimmer-grade walkthrough of hoof block application: when to block, how to prep, which block to reach for, and how to get the glue right first time.
It assumes you already know your way around a foot. If you are still learning to read a lesion or model a claw, that groundwork comes first — but if you can trim, this is how to block properly.
When to apply a block — and when not to
Blocking is the answer when one claw is painful and the other is sound enough to carry the load on its own for a few weeks. The classic indications are the claw horn and white line lesions:
- Sole ulcers — the textbook case for a block. Lift the weight off the ulcer site and it can granulate over.
- White line disease and white line abscess — once you have pared out and drained the tract, a block keeps weight off the wall while it grows down. We covered the paring and drainage side of this in our White Line Abscess guide.
- Toe ulcers and toe necrosis, foreign-body penetrations, and deep sole bruising that is not settling — anywhere the pain is mechanical and confined to one claw.
Just as important is knowing when a block is the wrong tool:
- Digital dermatitis. This is a skin infection, not a weight-bearing problem. It is treated on the skin — clean, topical treatment, footbath management — not by lifting a claw. A block on a mobility-scored cow whose real issue is an M2 lesion just hides the problem.
- Both claws of the same foot affected. There is nothing sound to transfer the load onto. Blocking one painful claw onto another painful claw helps no one.
- Deep sepsis or joint involvement. A hot, grossly swollen foot with suspected joint infection needs a vet and a treatment plan, not a block on top.
Tools and consumables you need
Have everything laid out before the foot comes up — the working window on a fast-set glue is measured in seconds, not minutes.
- A functional foot in a crush with the leg secured, and a clean, well-lit place to work.
- Your trimming kit — knives, an angle grinder or hoof disc for modelling the claw — from the hoof trimming tools range.
- A wire brush or knife to clean the bonding surface, plus a cloth or paper towel to dry it.
- The hoof block itself — wood, plastic or rubber (more on choosing below).
- Your adhesive, applicator gun and a fresh mixing tip — from the hoof glues range.
- Disposable gloves. Two-part adhesives cure on skin as readily as on horn.
Preparing the hoof
Preparation is where blocks are won or lost. Glue failures are almost never the glue.
Trim first. Model the sound claw so its bearing surface is flat and level — the block has to sit square against a flat face, and the sound claw has to be able to take the extra load comfortably. Pare and drain the affected claw as the lesion requires, and lower it slightly so the block does the lifting.
Clean, then dry — and mean it. Scrub the bonding surface free of muck and loose horn, then dry it thoroughly. Moisture on the bonding surface is the most common reason a block lifts early. A wire-brushed, wiped-down, genuinely dry claw is worth more than any amount of glue.
Choosing the right block: wood, plastic or rubber
There is no single “best” block — it depends on the housing, the cow, and how long you need it to last. Choose from the hoof blocks range on the trade-offs, not the price alone.
Wooden blocks are cheap, grip well and shape easily on the spot — you can rasp or grind one to fit in seconds. The downsides: they absorb moisture, wear down, and are single-use. On dry standing and for short healing windows they are hard to beat for value.
Plastic blocks are hard-wearing and do not soak up slurry, so they hold their height longer than wood. They can be harder to shape and, depending on the tread, less grippy on wet concrete.
Rubber blocks and shoes give cushioning and grip, which suits cows on abrasive concrete or slats and anything that needs to stay comfortable for the full healing period. The Bovi-Bond rubber shoes (stocked in standard, medium and XL) sit in this camp — a slip-and-bond shoe rather than a plain block, useful when you want more support around the claw than a flat block gives. The trade-off is cost per application against wood.
Applying the glue
For this walkthrough we will use Bovi-Bond, the fast-set two-part urethane most trimmers keep in the crush. The principles carry across to any cartridge adhesive, but the timings below are Bovi-Bond’s.
- Equalise the cartridge first. Before you fit the mixing tip, dispense and discard a small bead so both components are flowing evenly. Skip this and your first mix can cure unevenly.
- Dry-fit the block. Offer the block up to the prepared claw and check the fit before you mix anything. Bovi-Bond sets in around 30 seconds — there is no time to decide placement once the glue is on.
- Mind the temperature. Bovi-Bond works best between 18°C and 25°C. In cold weather keep the cartridges and blocks warm (a heat pad in an insulated box) and expect the cure to run slightly longer.
- Mix and apply. Fit a fresh tip, run a bead onto the block’s bonding face, seat the block against the flat, clean, dry claw surface, and hold it firm and square.
The commonest mistakes at this stage: gluing onto a damp surface, hesitating past the working window, and skimping on adhesive so the bond is patchy. Prep well, commit to your placement, and use enough glue to wet the whole face.
Securing and finishing
Hold the block under firm, even pressure while it sets — around 30 seconds for Bovi-Bond — keeping it square to the claw so it does not skew as it grabs. It reaches weight-bearing in two to three minutes (a little longer in the cold), so the cow can be back down and out of the crush shortly after.
Before you release the foot, check three things: the block is flat and fully seated with no rocking; it is high enough to lift the diseased claw clear of the ground so nothing bears on the lesion; and there is no sharp glue squeeze-out sitting between the claws where it could rub. Trim off any proud adhesive.
Aftercare and removal timing
Note the cow, the foot, the lesion and the date — a block is a treatment with a review point, not a fit-and-forget. If the cow is still markedly lame 48 hours after blocking, that is not a wait-and-see: get the foot back up and reassess, because you may have missed something or blocked the wrong claw.
A block is not meant to stay on forever. Left too long, it either wears through or keeps overloading the sound claw once the job is done. Plan to review and remove it at around four to six weeks, sooner if it has worn down or worked loose. Many blocks shed themselves near the end of the healing period, which is fine — but check, rather than assume, that the foot underneath has actually healed.
Get the right kit for the job
A good block is only as good as the glue holding it and the prep underneath it. Browse the hoof blocks and hoof glues ranges, or go straight to Bovi-Bond for the fast-set adhesive and rubber shoes most trimmers reach for. Bookmark this guide for the next foot in the crush — and speak to the Hoofcare team if you want a second opinion on the right block-and-glue combination for your housing.